It’s a good practice to always update your Router firmware, since, routers make use of wireless connections and, they are prone to security loopholes.
To prevent these security loopholes, you have to update your router firmware, so that you will be able to take care of any underlying bugs or security threats.
Most firmware updates usually come with faster signal, fixed security threats and solutions to bugs. However, not all routers update themselves automatically.
That might be a challenge because wrapping your head around how to update your router alone might be a bit confusing.
And, in this guide, I will be breaking down an easy to follow instructions that you can use to update most routers.
The procedures for other popular routers will be discussed as well.
How to Update Your Router Firmware
In general, here are the steps to follow to update your router firmware.
- To update your router, you have to visit the router administration page via your “Ip address”
- Take note of This: Your computer or the device you are using must be connected with the router’s Wifi network.
- Now, if you have no clue how to get your router’s Ip address, you can check the bottom of your router device to see if there’s a sticker on the bottom of the device since most routers usually put their IP address over there.
- If you can’t find your there follow these steps to get your IP Address
For Windows

- Press the “windows” button together with the “R” button
- a dialogue box should appear, type in “cmd” and click on “OK”
- It will take you to the command prompt,
- Over there, type this – “ipconfig” now press the “Enter” button
- Your router’s IP will be listed right beside the Default gateway
For Mac Pc

- Open up “system preferences”
- navigate to “Network” and choose it
- Under the network tab, you will see “Wi-Fi” by the left.
- Select it and, at the bottom right corner click on “Advance setting”
- next screen simply choose the “TCP/IP” tab and under it, you will see the “Route IP”
You can find out more about your router IP address if you are having issues with that over here.
Once you have your “IP address” – For both Mac and Windows go on to your web browser, input the address there and press enter
- It will take you to a login page
- simply enter the login details, the username and password you used during the initial setup
- Now, it will take you to the firmware homepage.
- For some firmware sites, you might see a notification if there is a new update
- However, to check, locate “the Advanced tab” for some other router it might be an “update tab”
- As soon as you get to the page where you can locate “firmware Update” click on it
- it will take you to a page where you can either “upload the firmware update file” or check for one
- if you have downloaded the update, simply click on browse and locate the file
- If you haven’t, click the “check” for an update.
- After checking and it detects a newer version, click on “yes” to initiate it
- Once it is done, the firmware version will be changed to the new one.
While I was speaking about updating your router firmware above, I spoke about updating it by looking for the update file and uploading it.
If you don’t know how to go about that. Here are simple steps you can follow to do that.
How to Manually Update your Router, Firmware

First and foremost you need to visit your “router’s Provider website” – for this guide I will be making use of t “NetGear” website as an example, other Router providers follow similar steps but there isn’t much difference so, here are the steps to updating your router manually
Also, it will be good to have your router with you to check the model number as it’s going to be needed.
Now, once, you are on the Routers provider website, locate the support page and choose “downloads”
- After doing that, scroll down to select your specific version and click on it
- a dropdown will appear with a download button.
- Simply click on the download
- Now, go back to the router home page
- locate the update page by going to Advance-Tab > Administration > Router-Update
- Now, on the “Router-Update” page click on browse and locate the “file you just downloaded
- Once you’ve seen it, simply, select it and click on “upload”
- Immediately the file is uploaded the update will begin.
How to Auto-Update your Router Firmware
Use NetGear as a Guide here. You can configure your router for auto-update by following this instruction, not all routers, while some auto-update by themselves, however, if you are using a “NetGear Router” here is how to configure it for Auto-Update.
- On the firmware providers’ page locate and click on the “advanced tab”
- Now move down and click on administration.
- Under “administration” you will see “router update”
- Click on it.
- At the right side of the screen at the bottom, locate “router Auto firmware update”
- And, click on “Enable” and then “Apply”
After successfully doing that, Your Router Firmware will be updated.
what if you are not using a “NetGear Router” I will touch o a few popular routers over here.
How to Update the firmware for a Linksys router

Over here, I will be showing you how to update your “Linksys Router manually. First things first: your PC should be connected to your router using an Ethernet cable.
- Now, go on the “Links Support Site”
- On the site search bar, Enter your Model number, as you are entering it you will see a dropdown of the different model number
- Select your model number and see, if there is a “firmware update available”
- If there is, simply download it.
- After doing that, Go on your web browser and paste your “IP address ” and press:” Enter”
- Once you see the login screen, type” admin” as the username
- leave “password ” blank
- After you’ve been able to log in,
- Click on Administration then locate and click on “Firmware Upgrade”
- Now, you will see a browse button, click on it and locate the “update file you just downloaded
- now “double-click” on it and select the “Start Upgrade” button
The update process will begin as you will see progress, bar – wait for it. Once it has been successfully Updated, the Firmware software version will be changed to the new one.
How to Update TP-Link Router Firmware

If you are using a TP-link Router, here is how to update your router firmware.
Note: You will need to know the model and hardware version and to get that, you can check the label on the back of your device.
To update the firmware of your TP-Link Router:
- Firstly, visit the provider’s website here – TP-Link Router.
- On the website, look for your Device model in the support section and select the correct one.
- Once you find the exact model of your router select it and download the latest firmware for it
- Now, the firmware you just downloaded will come in a zip file just like the other, but for TP-link you will need to extract it.
after Extracting it, open your web browser and go to the address, written at the bottom side of your router. in most cases it is usually this “192.168.1.1” or this “http://tplinkwifi.net” but check it to be sure.
- Now, it will open a login page, simply enter “admin” as both the username and password”
- After you’ve logged in, you will see “advance” click on it
- Now, locate “system Tools” at the left side of the page, and underneath it click on “Firmware upgrade”
- Click the browse button to go to the file you just downloaded.
- once you can locate the downloaded file, double click to select it.
- Now, click on the “Upgrade” button to begin the process
Note: don’t interrupt the update process as it could cause permanent damage to your router.
After the update has been successful, It might restore to, the factory “settings”, all you need to do is just to reconfigure it back that’s all.
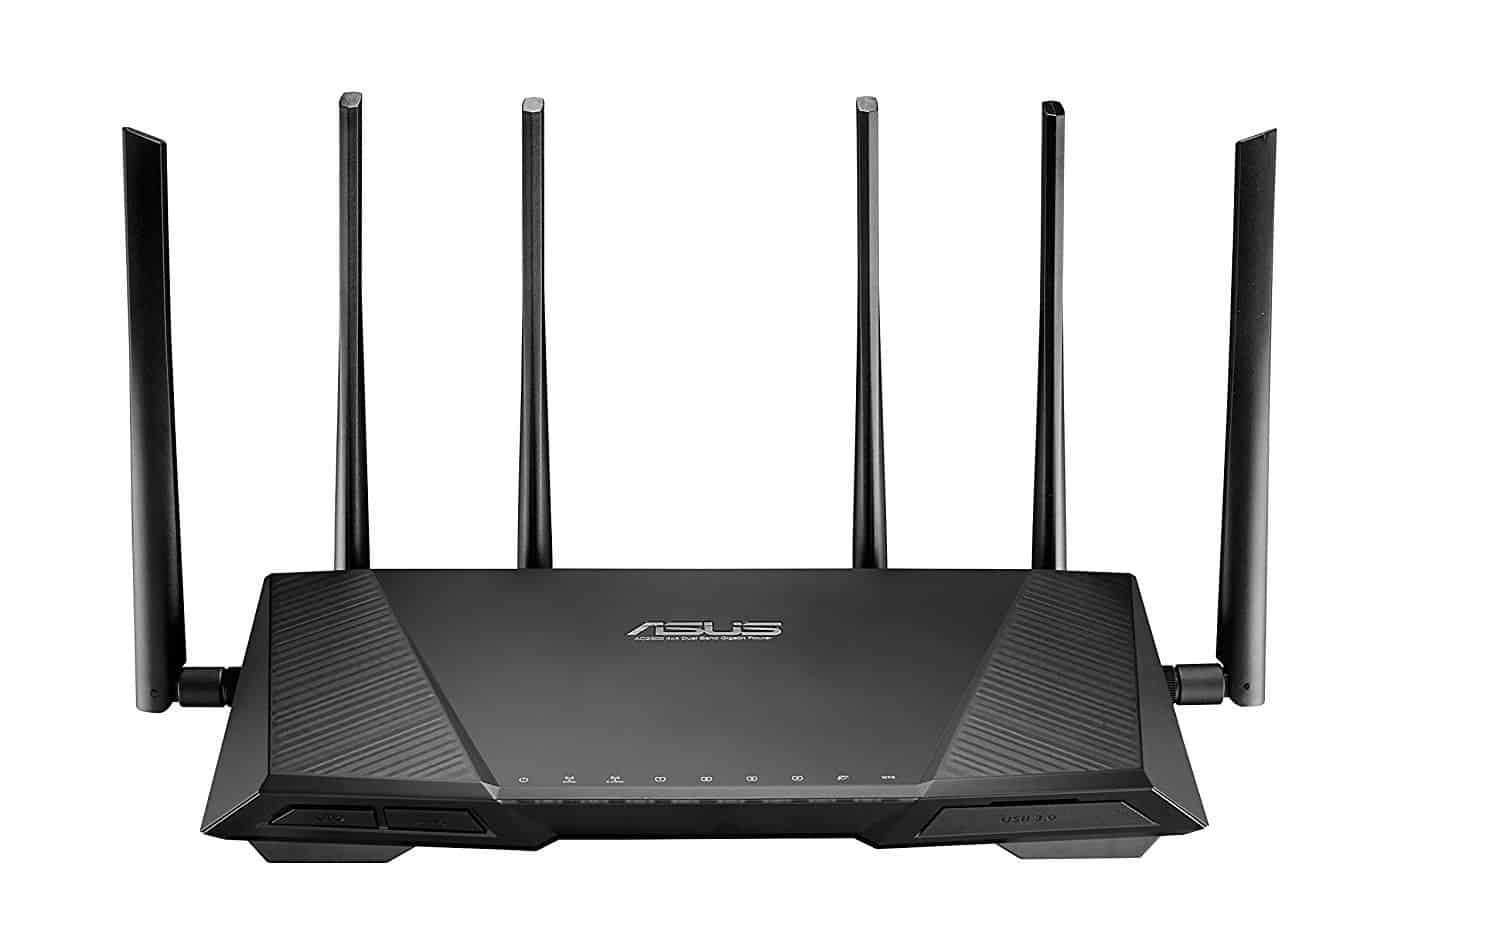
Now, if you’re not using any of the routers mentioned above, but you are using an Asus router here is a simple step you too can follow to update the firmware of your router
How to Update Asus Router Firmware

- Firstly, open your browser and go to the Asus site Support page

- Now, move down to the “select a Product Section” and select “networking“
- On the “select your Product section” choose your Product series and product number

- Now, at the right side of the screen, Locate and click on the “Drive and utility” link
- On the”helpdesk Page, move down and select your “OS“, under drivers and Tools

- Now, it will bring some results, showing youth latest software and utility file, and also the latest “firmware update”
- Move down to the firmware search result and click on “download“

- Now, locate the file and unzip it.
- After that, Open a web browser and open this link Asus Router Page
- On the login page, enter your username and password to sign in
- Now, Click on Advanced Setting and locate Administration and Click “Firmware Upgrade”
- On the firmware Upgrade page Click “Upload” and select the update you just downloaded – the unzipped file.
Once the upload is completed, it is advised to restore factory settings, you can do that by following the guidelines here.
If you are using an Orbi router you can follow the instructions here to learn how to update your Router Firmware.
Conclusion
Updating your router firmware isn’t all that hard, however, for some router Providers, the process might be a bit different.
You can follow the advice, for your router, But you must always make sure that once the updating process is going on, don’t switch off the device and also, make sure you are up[dating the correct firmware for your specific router model.
Ignoring these could affect your router so take note of these.
